
Why Ruby on Rails Is Suitable for Cloud-Native Development
Cloud-native development has revolutionized the way modern apps are built, deployed, and scaled. Modern enterprises require systems that are resilient, flexible, and scalable with the …
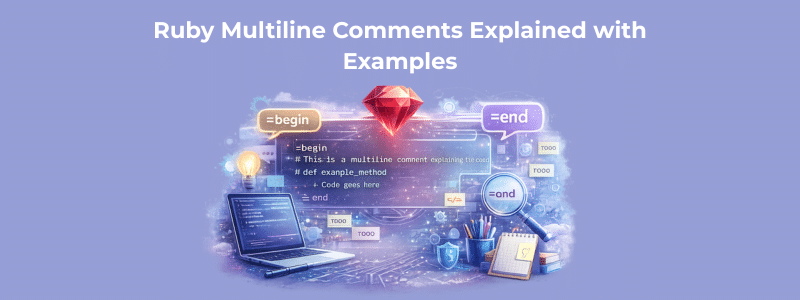
Ruby Multiline Comments Explained with Examples
Ruby, known for its elegant and developer-friendly syntax, handles comments in a somewhat unique way compared to many other programming languages. While single-line comments (starting …
Modernizing Legacy Platforms Using Ruby on Rails
Legacy platforms have been holding businesses together for years, even decades. They hold valuable data, run mission-critical operations, and often are significant financial investments. However, …

Future of Ruby on Rails in Enterprise Mobility 2026
The rise of Enterprise mobility has grown to become a mission-critical cornerstone for modern business. By 2026 , mobile apps will no longer be an afterthought in …

Ruby on Rails for IoT Application Development in 2026
By 2026, the Internet of Things (IoT) will bring new industrial advantages by allowing them to seamlessly connect devices, sensors, and digital systems. With a broad …

What Is Ruby on Rails? An Introduction for Beginners (2026)
Web development is progressing really fast in 2026; however, some technologies have stood the test of time due to their stability, simplicity, and laser focus …

Ruby Random Numbers: How to Generate Them With Examples
Random number generation is a fundamental concept in programming, and Ruby makes it both simple and powerful. From building games and simulations to generating test …

How Ruby on Rails Supports Fast Time-to-Market (2026)
In today’s digital economy, nothing is more important than speed.” From startup products to SaaS features to enterprise platforms, every organization is feeling the squeeze to shrink …

Ruby on Rails Development Lifecycle Explained (2026)
Ruby on Rails has long been known for its ability to accelerate web development without compromising on quality, scalability, or security. In 2026, it is …